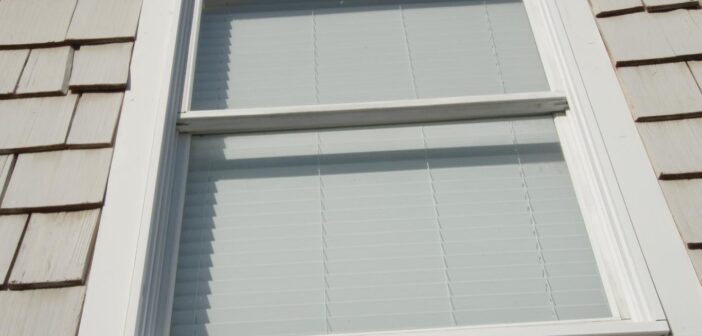
Sash windows are a classic feature of many older homes but, wooden sash windows may start to age and show signs of wear and tear. But instead of replacing them entirely at great expense, homeowners can save money and preserve the historical integrity of their houses by opting for DIY sash window repair.
DIY Sash Window Repairs – The Cost Effective Option
Many of us love our DIY, and so why not get stuck into a wooden window refurbishment project? DIY projects allow you to save money on professional services, are hugely satisfying and help you develop new skills.So, grab your tools, a cup of tea, and let’s get started! Talking of tools…
Essential Kit for Sash Window Repairs
Here are some essential tools to have on hand:
- Cordless Drill: A versatile and convenient tool for various tasks, such as removing screws and drilling pilot holes.
- Putty Knife: Ideal for scraping off old paint and removing putty.
- Chisel: Necessary for more intricate tasks like trimming wood and removing stubborn putty.
- Sandpaper: Used to smooth the wood surface before applying paint or varnish.
- Sealant: Essential for sealing and waterproofing the window panes.
Don’t forget you’ll need the replacement parts depending on the repairs needed, you may require new cords, pulleys, or sash lifts. When it comes to glass, we’d strongly advise getting professional help not only for the install, but the advice on which type of glass will be best for your home and window frame.
Our Tips For Wooden Window Refurbishment
As experts in sash window repairs, we are happy to share various tips and tricks to help homeowners tackle common issues associated with sash windows. From basic maintenance to more advanced repairs, hopefully we can equip you with the knowledge you need to restore your sash windows and boost the kerb appeal of your home.
Step 1: Remove the Sashes
To begin the repair process, you need to remove the sashes from the window frame.
Step 2: Repair Rotten Wood
If you encounter rotten wood during your assessment, it’s crucial to address it promptly. Use a chisel to remove the rotted sections and replace them with new wood using wood glue or epoxy.
Step 3: Replace Broken Panes
For broken or cracked panes, carefully remove the damaged glass and replace it with new glass of the appropriate size. Again we strongly recommend the input of a professional for any replacement glass work in terms of handling it and measuring up as you don’t want to pay out for an incorrectly sized unit.
Step 4: Fix Sticking Sashes
If your sashes are sticking, it could be paint buildup or swollen wood. Scrape off excess paint using a putty knife and sand the wood surfaces. If the wood is swollen, wait for it to dry completely before proceeding.
Step 5: Repair or Replace Cords and Pulleys
Inspect the cords and pulleys of your sash windows. If you notice any damage or fraying, replace them with new ones. Lubricate the pulleys with silicone spray for smooth operation.
Step 6: Seal Gaps
To improve energy efficiency and reduce drafts, seal any gaps around the window frame with weatherstripping or caulk.
What are the common issues I am likely to face?
- Sticking Sashes
One of the most frequent problems with sash windows is sashes that stick when opening or closing. This issue can be caused by paint buildup, swollen wood, or worn-out hardware.
- Drafts and Energy Loss
Sash windows are notorious for drafts. As they age, gaps can form, compromising insulation and leading to energy loss. Repairing these gaps can significantly improve energy efficiency in your home.
- Rotten Wood
Over time, exposure to the elements can cause wood to rot. Rotten wood not only compromises the structural integrity of your sash windows but also detracts from their aesthetic appeal.
- Broken Cords or Pulleys
Faulty cords or pulleys can hinder the smooth operation of your sash windows. Repairing or replacing these components is crucial to ensure proper functionality.
- Broken Panes
Accidents happen, and sash windows can suffer from broken or cracked panes. This will compromise energy efficiency, security and safety so you’ll need to replace it sharpish.
Hopefully this has covered all the main processes involved in a DIY wooden window restoration, but if you need any advice or you think the project might be beyond your skill set, simply consult a helpful expert who will be willing to help.


1 Comment
Pingback: 4 hottest internal design trends from 2024 so far – Gary Skentelbery – Interior Design Marketplace