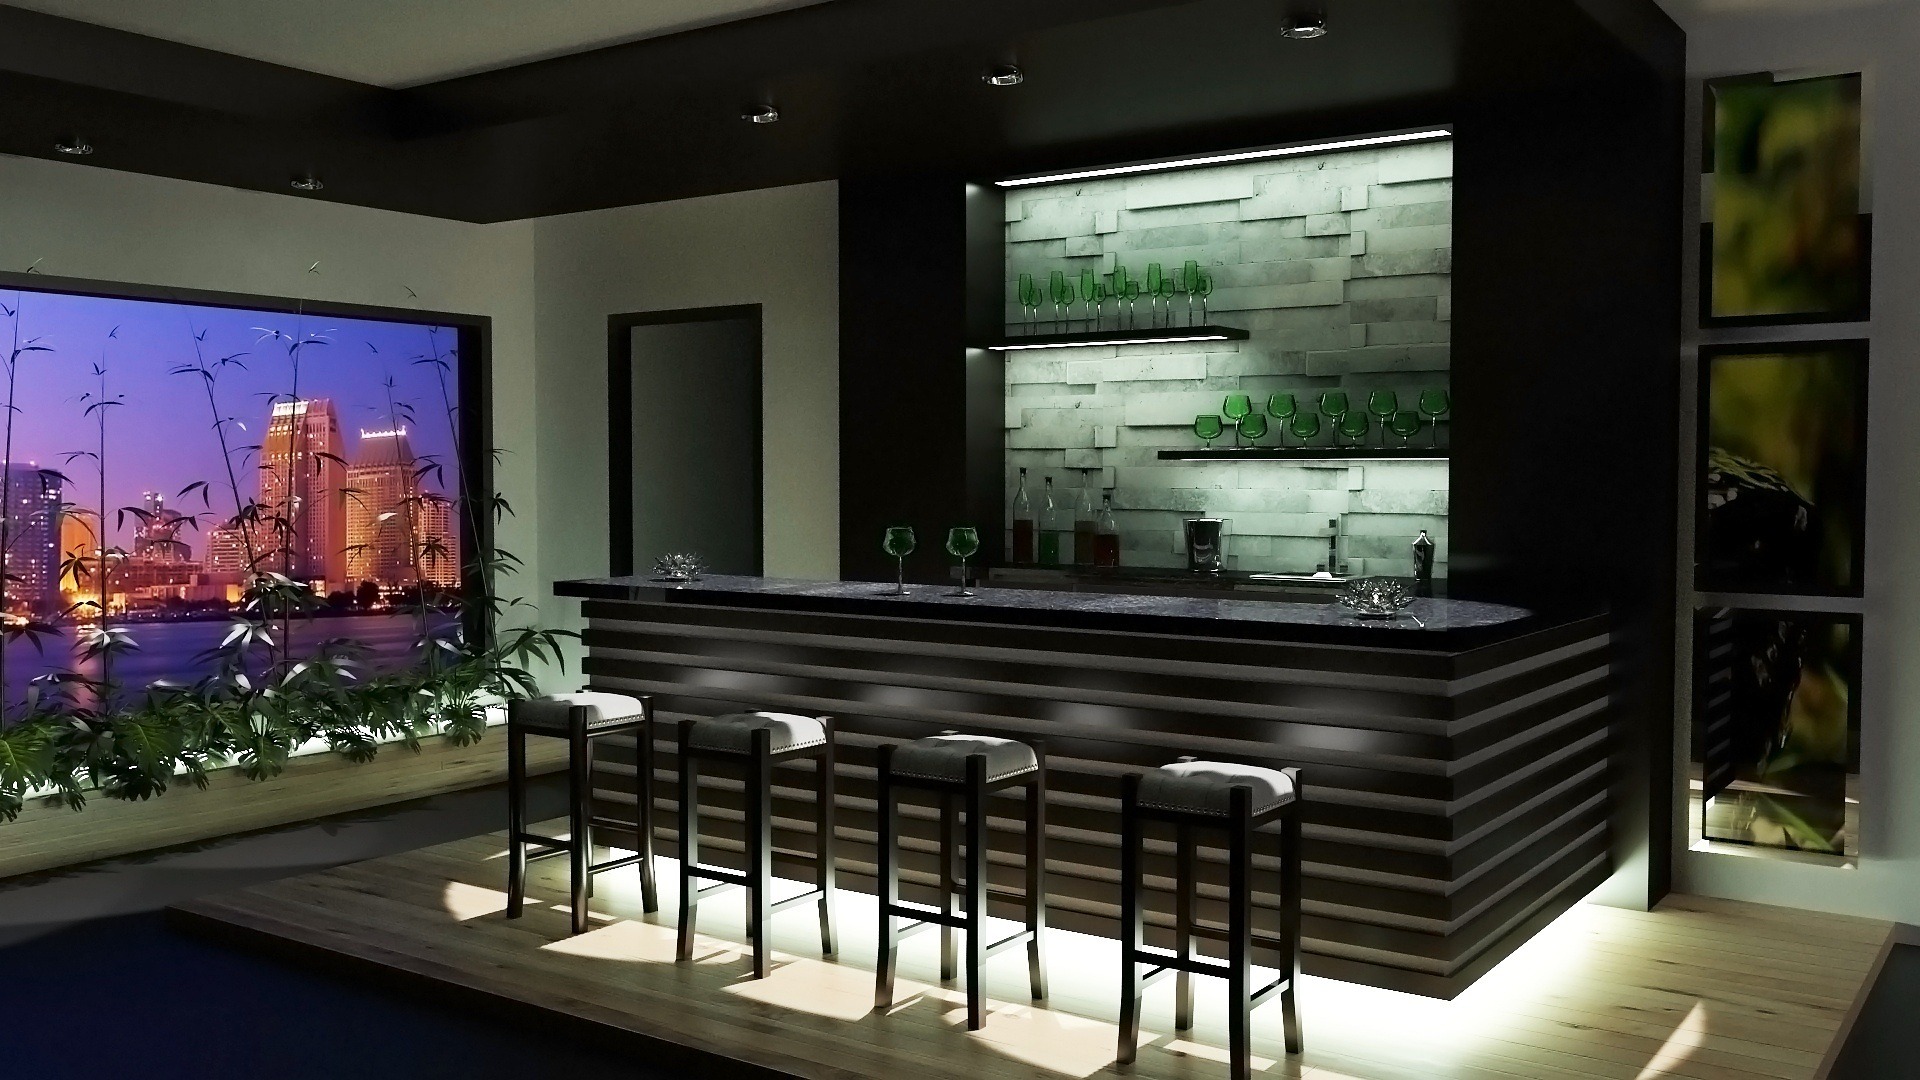
Home bars used to be a Pinterest daydream. Now they’re a real fixture in loads of houses, especially since the lockdown years pushed people to turn garages, basements and dining-room corners into proper drinking setups.
Most guides cover the bar top, the stools, the glassware and the taps, but hardly anyone talks about the wall behind the bar. That’s the bit that decides whether the whole thing looks planned or looks like a shelf you bolted up in a hurry. Stay with us, because that back wall is doing two jobs at once and most people only get one of them right.
The Wall Behind the Bar Has Two Jobs
The first job is the display face. This is the part your mates see when they walk in: the bottles, the shelving, the lighting, a bit of signage, maybe some sports memorabilia or a mirror to bounce the light around. It’s the showpiece and it’s the easy bit to get right.
The second job is the working face. This is the wipeable zone directly behind where you pour, and every splashed cocktail, foamed pint and squeezed lime wedge ends up hitting it. Most home bars look great on day one and then start to smell of stale beer within a year, because the working face was never built to be cleaned. Get both jobs sorted and the bar will stay sharp for years.
Materials That Look Great but Cause Headaches
Every popular backwall material comes with a trade-off, and it usually shows up the first time you try to clean it:
- Reclaimed timber: looks brilliant and full of character, but it soaks up spills and holds the smell.
- Exposed brick or brick slips: a proper feature wall, though the rough surface is brutal to wipe down.
- Floating glass shelves with an LED strip: clean and modern, but you need a wall behind them that can actually handle water.
- Hygienic panelling: not much to look at on its own, yet it wipes clean in seconds.
The mistake is picking one material and running it across the whole wall. The good-looking options are terrible in the splash zone, while the practical option looks a bit clinical if you plaster it everywhere.
The Layered Fix Most People Miss
The trick is to layer it. Put your good-looking display material on the upper wall where everyone can see it, then run wipeable panelling along the lower splash zone directly behind the pour. Your shelving will hide most of that lower section anyway, so nobody clocks it.
For that working strip, Simply Cladding supplies hygienic PVC panels in gloss finishes that hold up as a design choice rather than a compromise, with enough colour range to either disappear behind your shelving or become part of the look.
You’ve got dark, moody tones like Slate or Ash if you want something that recedes behind the bottles, a deep Ruby if you want a bit of drama, or classic White Gloss to throw light around a dim basement. A gloss surface bounces your LED strip beautifully, so the panelling does double duty as both the easy-clean layer and part of the lighting effect.
Build Details That Save You Grief Later
Sort the boring stuff before you fix anything to the wall. If you’ve got a sink or a drip tray, plan the drainage so water actually runs away instead of pooling behind the counter. Seal every joint and edge with a good sanitary silicone, because gaps are where the mould and the smell start.
Be sensible with the electrics too. Any wet zone near sockets or LED wiring will want proper isolation and, ideally, an electrician’s eyes on it. If your bar sits in a converted garage, the whole space has to meet the same building regs as any habitable room, so any new sockets or lighting need signing off by a Part P registered electrician (NICEIC, NAPIT or ELECSA), and you’ll want proper ventilation sorted at the same time.
In Closing
A home bar lives or dies on the wall behind it. Spend your money on a display face that shows off your bottles, but back the pour zone with something you can wipe down in seconds. Do that and you’ll still be proud of it in three years, instead of scrubbing at stained timber and wondering where the smell is coming from.